
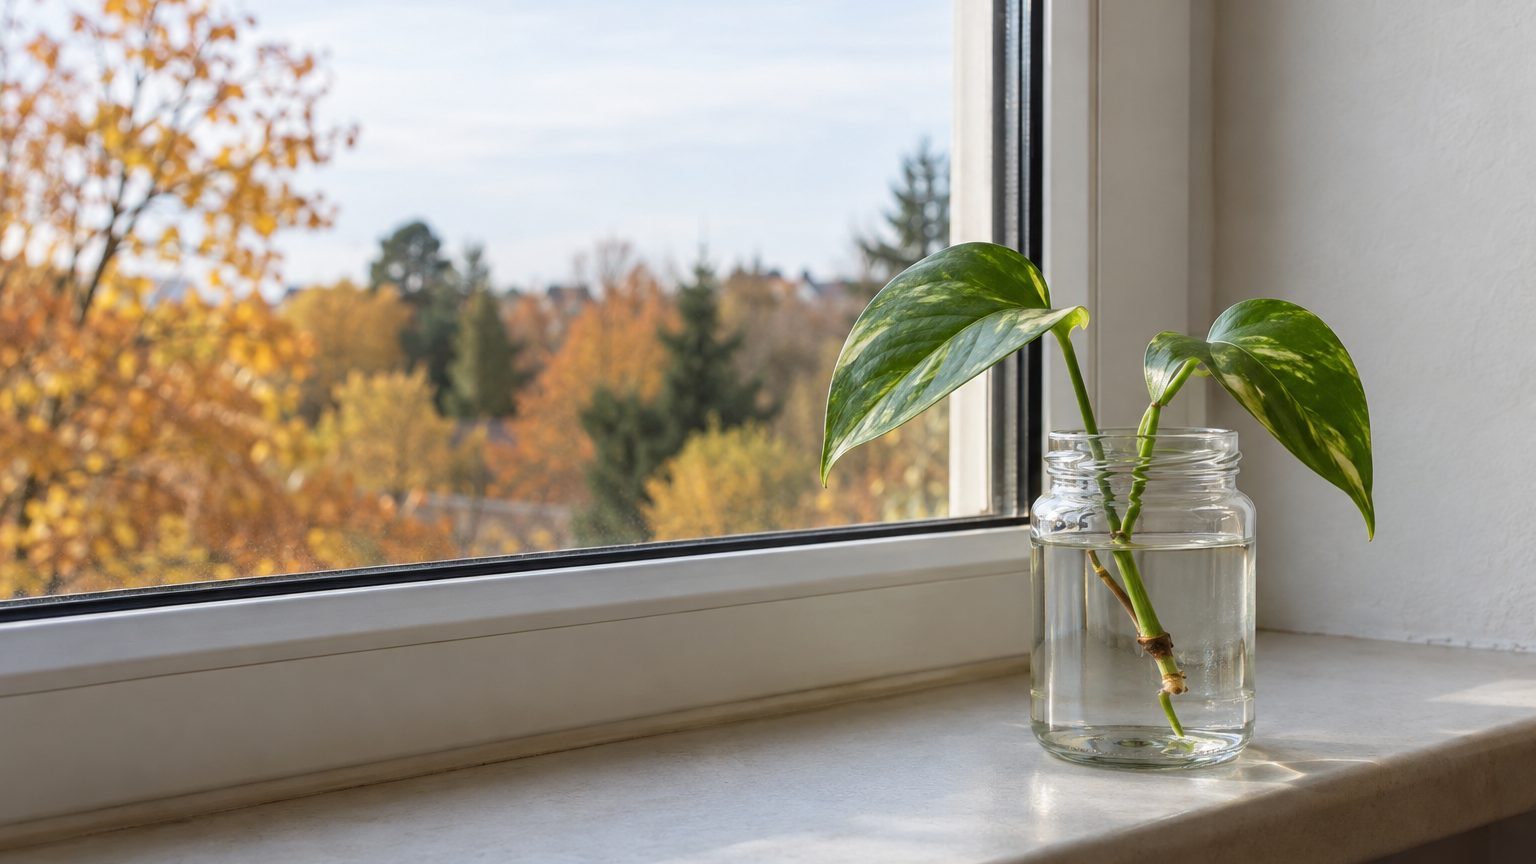
A pothos cutting that turns mushy in a jar of water almost always has one of three problems: the node sat in the wrong place, a leaf was submerged and decomposing, or the water went stale. Fix those three and the success rate climbs sharply. Pothos (Epipremnum aureum) is famously forgiving, which is exactly why its failures feel so baffling.
- The cut should sit about a quarter inch below a node.
- Any leaf or leaf stalk that touches water rots and spreads rot to the stem.
- Water should be changed every five to seven days, or every three to four in summer.
The node is the whole point
Roots do not grow from the stem at random. They emerge from nodes, the small brown bumps where a leaf stalk meets the vine, and a cutting without one will never root, no matter how long you wait.
Check where you cut. The blade should pass about a quarter inch below a node, leaving a short stub of stem beneath it. Cut too close and you slice through the tissue that holds the root-producing cells; cut too far below and you leave a long piece of bare stem that has nothing to do but soften and rot.
Many people also forget the aerial roots. Those little brown nubs on a pothos vine are root primordia already in progress, and a node with one attached usually roots faster than one without.
Stems that go black from the bottom up are the classic sign of a bad cut.
Sterilized tools matter more than most guides admit. Wiping scissors with rubbing alcohol before each cut takes ten seconds and keeps bacteria from the parent plant’s last injury out of your new wound. A ragged cut from dull blades crushes cells and gives microbes an easy entry, so sharp, clean and decisive is the rule.
Leaves below the waterline
Any leaf that touches water will rot. It’s soft tissue packed with sugars, and once submerged it becomes food for bacteria and fungi, which then spread to the stem you were trying to save.
Strip every leaf from the lower node before placing the cutting in a jar. Keep one or two leaves at the top, so the cutting can still photosynthesize, but make sure the leaf stalk, the petiole, stays above the surface too. A petiole sitting in water yellows and slimes within days, and the slime travels downward.
Cutting length matters here. A vine with six leaves and one node is top-heavy and tends to tip, dunking foliage. Aim for a cutting with two to four leaves and two nodes: one node submerged, one resting in the air.
That second node is a quiet bonus. It gives you a backup if the first one fails, and it can sprout roots in humid air above the waterline.
Water changes, light and container choices
Stagnant water loses dissolved oxygen as the days pass, and bacterial counts climb. Roots need oxygen to grow, which is why cuttings in old, murky water produce short, translucent, glassy roots that turn brown and fall apart.
Change the water every five to seven days, and every three to four in summer when warm temperatures speed up bacterial growth. Rinse the jar with a little soap and water at the same time, because the slick film on glass is a bacterial colony. Rinse the stem gently too, running your fingers over it to remove any slime before it settles in.
Use room-temperature water. Cold tap water straight from a winter pipe can shock a cutting, and very hot water is worse. If your municipal supply is heavily chlorinated, letting a jar sit out overnight lets some of the chlorine dissipate, though pothos tolerates tap water in most households.
Light is the other lever.
Bright, indirect light fuels rooting because the leaves feed the new roots with sugars. A dark corner starves the cutting, and a starving cutting is vulnerable to rot. But direct afternoon sun heats a clear jar like a small greenhouse, and warm water breeds bacteria. A spot a few feet back from an east or south window usually gets the balance right.
Container choice makes a difference too. Clear glass lets you watch for trouble, but it also lets in light that encourages algae, which is mostly harmless but clouds the water and competes for oxygen. A narrow-mouthed bottle supports the stem and keeps leaves out of the water; a wide bowl invites floating foliage. If algae bothers you, a darker glass or a wrapped jar solves it without affecting the cutting.
Skip the fertilizer. Plain water is enough for the first weeks, and added nutrients feed microbes faster than they feed roots. Some growers add a few drops of diluted hydrogen peroxide or a pinch of activated charcoal to the jar to slow bacterial growth, and both can help, though neither replaces fresh water.
Rescuing a cutting that’s already going soft
Mushy doesn’t always mean dead. If the rot is limited to the bottom inch, take the cutting out, trim above the soft tissue with a sterilized blade until the cut surface looks green and firm, and start over in fresh water. Cuttings that lose their bottom node can sometimes be saved if a second node remains higher up.
If the stem is soft past the first node, or the whole thing is translucent and smells sour, discard it. Rot spreads through vascular tissue, and trying to save a heavily infected cutting usually wastes weeks.
Patience also deserves a mention. Pothos typically shows root nubs in one to three weeks, and roots two to three inches long are a reasonable signal for potting up, usually around the four-to-six-week mark. Moving them to soil too early, when roots are barely visible, often fails because water roots are structurally different from soil roots and need time to toughen.
One more detail for the transition: water-grown roots adapt to soil better when the mix stays evenly moist for the first two weeks. Keeping a few cuttings in water permanently is perfectly fine, too, as long as you keep changing it, and pothos grown that way for years is a common sight on office desks.
Propagating a stem in winter takes longer than in summer, sometimes twice as long, because cool rooms slow root growth while bacteria still bloom in the water. If your cuttings are crawling along in January, a warm spot above 65°F and a heat-neutral surface (not a radiator) usually gets them moving.