As winter’s grip loosens and the first signs of spring emerge, gardeners face a pivotal task: reviving perennials that have weathered the cold months. Among the various techniques employed, one stands out as the most effective and widely endorsed by professionals: **cutting back dead foliage and stems**. This simple yet crucial step rejuvenates plants. Also, sets the stage for a vibrant growing season.
Key takeaways
- Why removing winter’s dead growth is crucial for healthy perennials
- The perfect timing to cut back for maximum plant revival
- Step-by-step guide to rejuvenate your spring garden like a pro
Understanding the Importance of Cutting Back
Perennials, by nature, shed their above-ground growth during winter, leaving behind dead stems and leaves. While this dormant foliage may seem harmless, it can harbor pests and diseases that threaten new growth. Removing these remnants allows sunlight and air to reach the plant’s base, promoting healthy development. As noted by experts, cutting back perennials in early spring helps prevent the spread of overwintering pests and diseases while making room for healthy new shoots. homesandgardens.com
Timing Is Everything
The optimal moment to cut back perennials is just before new growth begins. This timing varies depending on climate and plant species but generally falls in late winter to early spring. In milder regions, February is often ideal, whereas colder areas may require waiting until March. Observing your garden for signs of emerging shoots can guide you in determining the right time.
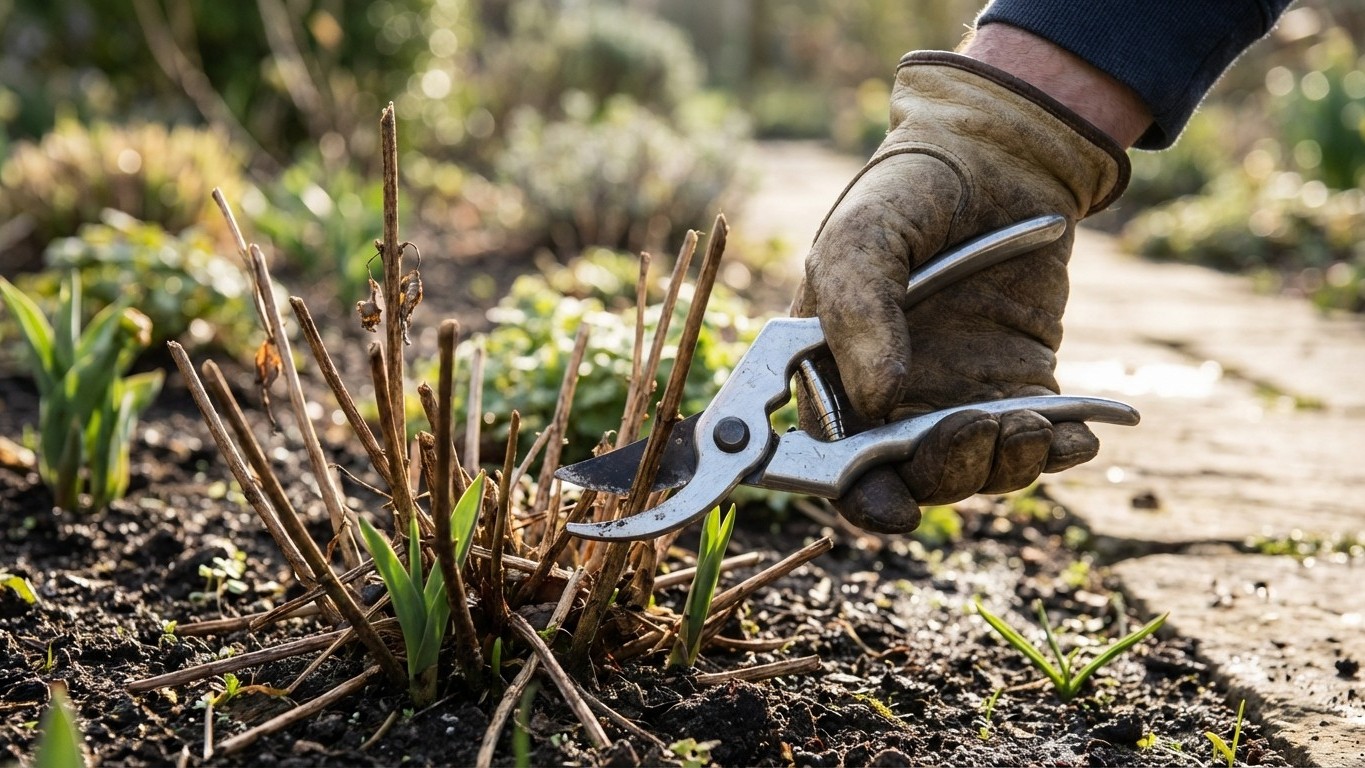
Step-by-Step Guide to Cutting Back Perennials
1. **Identify the Plants**: Focus on perennials that have died back over the winter. Common examples include peonies, bee balm, daylilies, black-eyed Susans, coneflowers, Shasta daisies, and catmint. homesandgardens.com
2. **Gather the Right Tools**: Use clean, sharp pruning shears or scissors to ensure precise cuts and minimize damage to the plant.
3. **Cut at the Base**: Trim dead stems and foliage close to the ground, leaving about 2 inches above the soil. This practice helps prevent accidental damage to emerging shoots. almanac.com
4. **Dispose of Debris**: Remove all cut material from the garden to prevent potential disease spread. Composting is suitable for healthy debris, but diseased material should be discarded appropriately.
5. **Inspect for New Growth**: Be cautious not to damage any new shoots emerging from the soil. If new growth is present, adjust your cutting height accordingly to avoid harm.
Additional Considerations
– **Mulching**: After cutting back, applying a layer of mulch can help regulate soil temperature and moisture, providing a conducive environment for new growth. However, ensure mulch is kept away from the plant’s crown to prevent rot. nunneryplumbingandheating.co.uk
– **Dividing Overgrown Perennials**: Early spring is also an excellent time to divide perennials that have become too large. This process rejuvenates the plant and allows you to propagate new ones. Dig up the entire plant, separate it into smaller sections, and replant them promptly.
– **Monitoring for Pests and Diseases**: Regularly inspect your perennials for signs of pests or disease. Early detection and intervention can prevent more significant issues later in the season.
By incorporating the practice of cutting back dead foliage and stems into your early spring routine, you enhance the health and appearance of your perennials. Also, lay the groundwork for a flourishing garden. This proactive approach, endorsed by gardening professionals, ensures that your plants have the best possible start as they awaken from their winter dormancy.