Bigger pot, healthier plant. It sounds logical, almost obvious. The problem is that with ZZ plants (Zamioculcas zamiifolia), that intuition can kill your plant faster than neglect ever would. What looks like generosity, giving the roots more room, can trigger a cascade of moisture problems that ends with soft, black rhizomes and a plant that’s beyond saving.
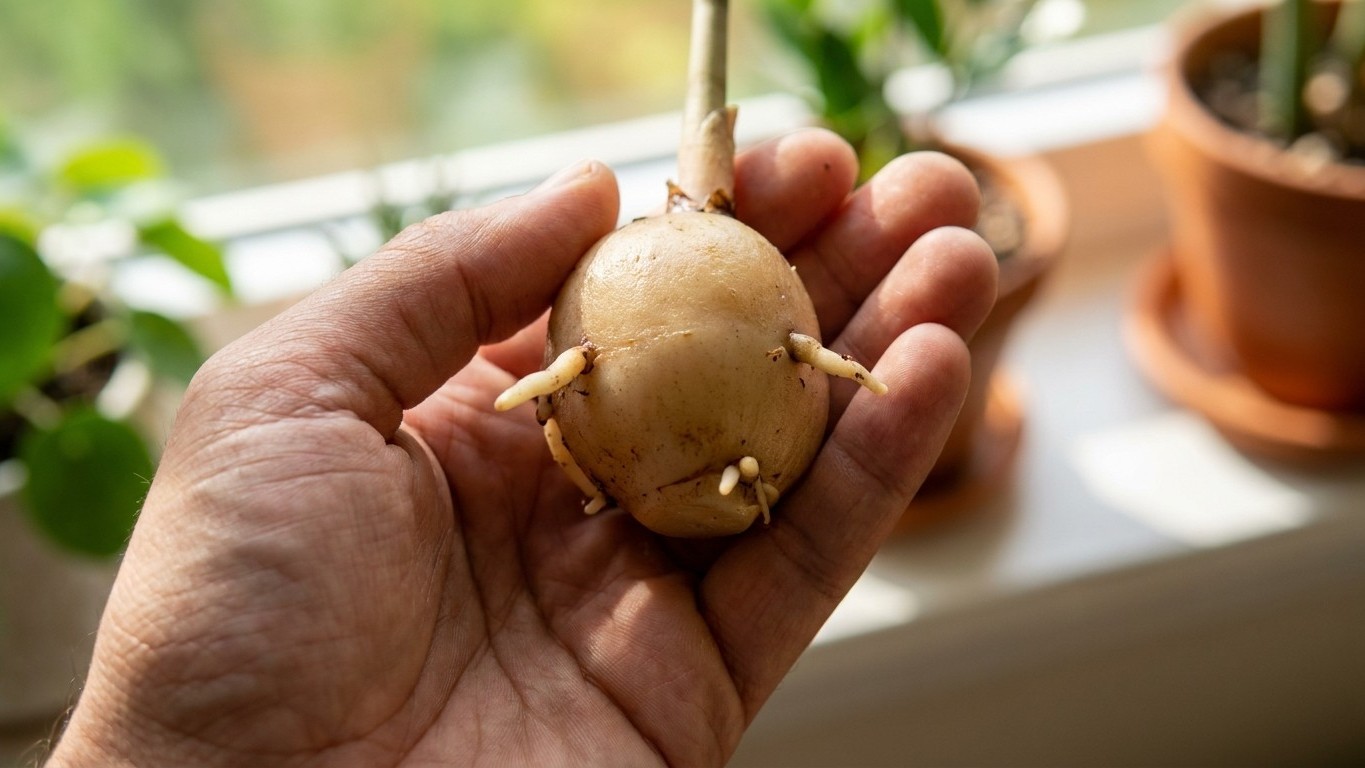
ZZ plants are native to eastern Africa, where they evolved in rocky, well-drained soils with distinct dry seasons. Their thick rhizomes, which look almost like potatoes clustered at the base of the stems, store water precisely because reliable moisture was never guaranteed. The plant is built for scarcity. Put it in a large container with abundant soil, and that extra soil holds far more water than the roots can absorb, especially in a low-light indoor environment where evaporation is slow. The result is chronic wetness sitting around roots that have no biological mechanism to cope with it.
Key takeaways
- What looks like care can actually kill your ZZ plant faster than neglect
- A common repotting mistake leaves roots drowning in soggy soil for weeks
- The secret to ZZ plant success involves breaking almost every standard gardening rule
Why “going up a size” backfires with ZZ plants
The standard repotting advice, increase pot size by one or two inches, works well for fast-growing, thirsty plants like pothos or peace lilies. ZZ plants operate on a completely different timeline. A healthy ZZ might add just a few new stems per year. Its roots are not racing to fill a new container. When you place a slow-growing plant into a large volume of damp potting mix, the unoccupied soil stays wet indefinitely between waterings, creating ideal conditions for Pythium and Fusarium fungi, the primary culprits in root rot.
A useful way to think about it: the pot should fit the root system like a snug coat, not a tent. For ZZ plants specifically, horticulturalists generally recommend moving up only 1 to 2 inches in diameter, and only when you can see roots actively escaping from the drainage holes or the plant is visibly lifting itself out of the existing container. If you repot simply because the plant “seems like it might need more room,” you’re solving a problem that doesn’t exist yet.
Drainage holes matter, but they’re not a complete fix. Even a pot with excellent drainage will retain moisture in the body of the soil for days if the root mass is small relative to the container volume. Clay or terracotta pots help by drawing moisture out through the walls, a real advantage with ZZ plants compared to plastic or glazed ceramic, which seal moisture in.
Recognizing rot before it becomes irreversible
Root rot in ZZ plants is deceptive. The above-ground portion of the plant often looks fine for weeks after the rhizomes have started to decay. The waxy, dark green leaves hold their shape and color even as the underground storage organs turn soft and brown. By the time you notice yellowing stems or a mushy base, the damage is often widespread.
If you suspect your ZZ was overpotted and rot has set in, the fastest diagnostic is to gently unpot the plant and examine the rhizomes directly. Healthy rhizomes are firm, pale to light brown, and slightly waxy. Rotting ones are soft, darker, and may smell faintly of decay. You can cut away affected sections with a clean, sharp knife, as long as some firm rhizome tissue remains, the plant can recover. Dust the cut surfaces with powdered sulfur or activated charcoal, let them air-dry for 24 to 48 hours, then repot into a much smaller container with fresh, gritty mix.
The soil composition matters as much as pot size. Standard potting mix retains too much moisture for ZZ plants. A blend of regular potting soil with added perlite (roughly 50/50) or a cactus and succulent mix with extra perlite gives the drainage these plants genuinely need. Some growers add a layer of coarse gravel at the bottom of the pot, the research on whether this actually improves drainage is mixed, but using a gritty soil mix throughout the container is consistently effective.
Getting the repotting timing and conditions right
Spring is the window. ZZ plants, like most aroids, enter a period of slower metabolism in winter. Repotting during that time stresses a plant that has minimal resources to recover. Repotting in spring, when light levels are increasing and growth is resuming, gives the root system the best conditions to establish in new soil without sitting dormant in a wet medium for months.
After repotting, hold off on watering for at least a week, sometimes two. This runs counter to most gardening instincts, but the logic is sound: any minor root damage from the repotting process needs time to callous over before wet soil introduces fungal pressure. When you do water, do it thoroughly and then wait until the top two inches of soil are completely dry before watering again. ZZ plants thrive on a cycle of thorough watering followed by a genuine dry-out period.
Light also plays an underappreciated role in pot-size decisions. A ZZ in a bright, indirect-light spot will absorb water and grow faster than one sitting in a dim corner. A plant in low light needs even less soil volume relative to its root mass, because evaporation from the soil is minimal and the plant’s metabolic rate is lower. The dimmer the location, the more conservative your pot size should be.
One detail that often gets overlooked: ZZ plants can stay root-bound for extended periods without any negative effects, unlike some plants that quickly become pot-bound and stressed. A slightly crowded root system actually encourages the plant to direct energy toward producing new stems rather than expanding roots. Some growers leave their ZZ plants in the same container for three to five years with no problems, simply top-dressing with fresh soil annually to replenish nutrients. The plant’s tolerance for a tight fit is a feature, not a flaw.