
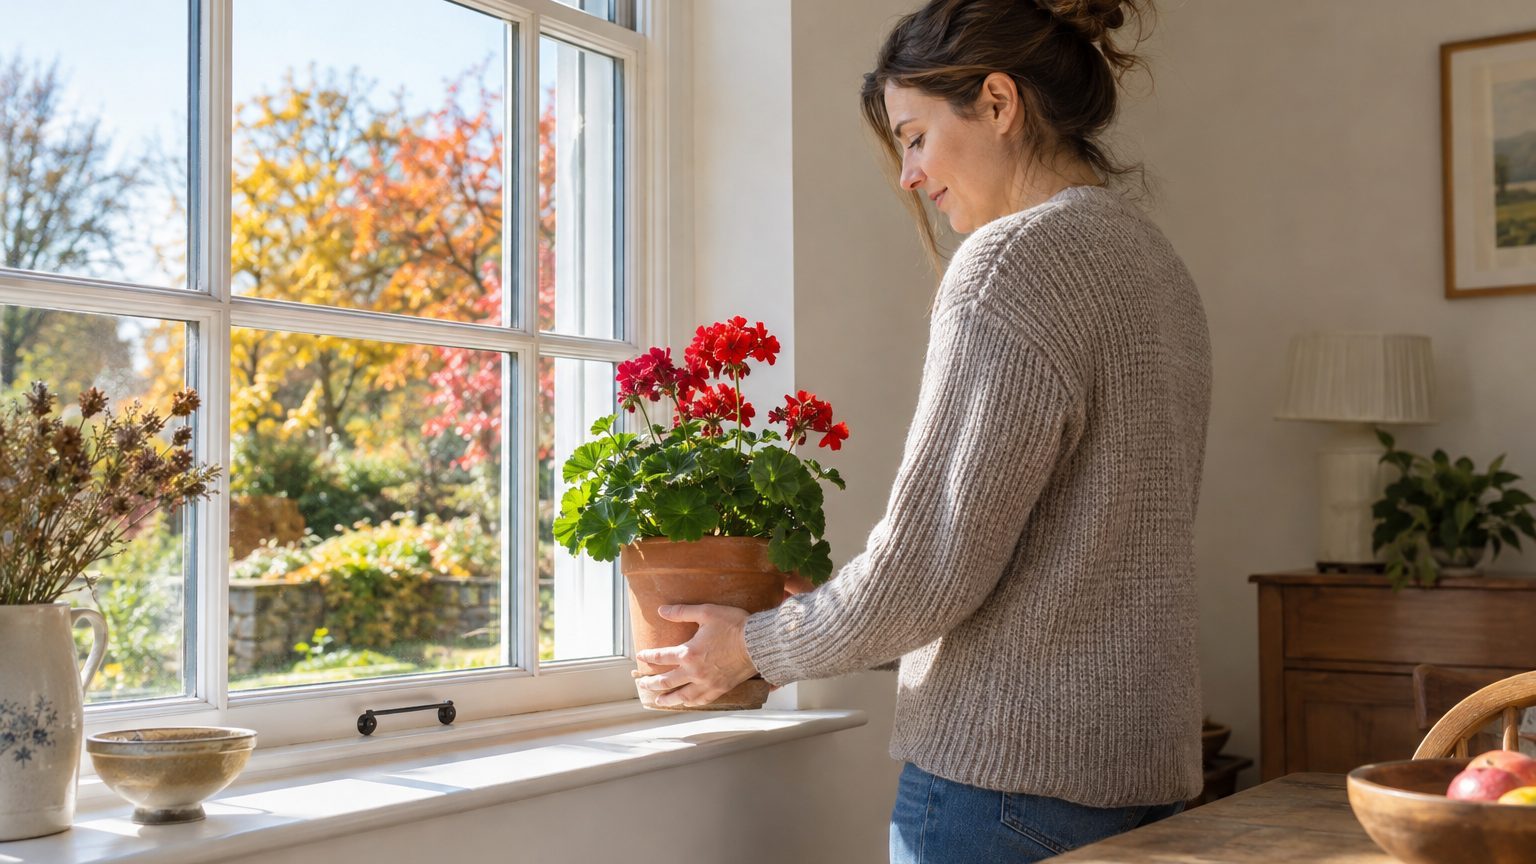
Overwatering is what kills most geraniums brought indoors for winter. Not cold, not low light, not forgetting them in the garage. A dormant or semi-dormant Pelargonium takes up very little water, and a pot kept as damp as it was in July turns the roots to mush by January.
Three methods work, and each suits a different amount of space and patience. Whichever you pick, the watering rule is the same.
- Overwatering kills most geraniums kept indoors over winter.
- Move plants inside before nights drop near 45°F, usually late September to mid-October in the northern U.S.
- Potted plants need 12 to 14 hours of light and watering only when the top inch or two of soil is dry.
Before anything else: timing and prep
Move plants indoors before the first frost, ideally when nights settle near 45°F. Zonal and ivy geraniums (technically Pelargoniums, not true geraniums) are tender perennials, and a single night near freezing can blacken the leaves and damage stems. In much of the northern U.S. that means late September to mid-October. It’s now mid-October, so if yours are still outside, today is the day.
Inspect everything first. Look under the leaves for whiteflies, aphids and spider mites, and check the soil surface for fungus gnats. Rinse foliage with a hose, and if you see pests, treat with insecticidal soap before the plants come near your houseplants.
Then cut back. Trimming stems to roughly half their height reduces the leaf area the plant must support in weak winter light, and it gives you material for cuttings. Remove yellow leaves and spent flowers, since decaying tissue invites botrytis, the gray mold that thrives in still indoor air.
Method one: keep them potted and growing
This is the easiest route and the best for a sunny window. Lift garden-planted geraniums carefully, shake off most of the soil, and repot into fresh potting mix in a container with drainage holes, only slightly larger than the root ball. Plants already in pots can simply come inside after the cleanup.
Light matters more than anything else here. A south-facing window is ideal, and a few hours of direct sun is the minimum for keeping compact growth. Without it, stems stretch pale and leggy. A basic LED grow light run 12 to 14 hours a day, set 6 to 12 inches above the plants, fixes that cheaply.
Temperatures between 55°F and 65°F suit them best. A cool spare room beats a warm living room, because heat pushes growth the light can’t support. Hold off fertilizer until late winter, when days lengthen and new shoots appear.
Now the watering. Wait until the top inch or two of soil is dry, then water thoroughly and let the excess drain. In a cool room that can mean once every two to three weeks.
Soggy soil is the killer.
Signs of trouble show up fast: yellowing lower leaves, a blackened stem base (the “black leg” rot), or a pot that stays heavy for days. Lift the pot. Light means dry, heavy means wait. Pelargoniums store water in their thick stems, so they tolerate a dry spell far better than a wet one, and a slightly wrinkled leaf is easier to recover from than rotted roots.
Method two: take cuttings
Cuttings turn one big, space-hogging plant into several small ones that fit on a windowsill. Late summer to early fall is the best window, though October still works. Choose healthy, non-flowering shoots about 4 to 6 inches long and cut just below a node with a clean blade.
Strip the lower leaves and any flower buds, leaving two or three leaves at the top. Many growers let the cut end dry for several hours until it forms a callus, which cuts the risk of rot. Rooting hormone helps but isn’t required, as geraniums root readily without it.
Push each cutting into a pot of barely moist, fast-draining mix, such as potting soil cut with perlite or coarse sand. Skip the plastic bag. Unlike many cuttings, geraniums rot in high humidity, so open air and bright, indirect light give better results. Roots usually form in three to six weeks, and a gentle tug with resistance tells you it has taken.
Water sparingly during rooting. A cutting has no roots to drink with, so a saturated pot is a death sentence. Once rooted, treat it like the potted plants above, and by April you’ll have flowering-size specimens for the garden.
Method three: bare-root storage
This is the old-fashioned approach, and it suits anyone with a cool, dark basement or unheated garage that stays above freezing. Dig up the plants before frost, shake off the soil, and trim off most of the foliage and roots’ dead bits. Let them dry for a day or two.
Hang them upside down in paper bags, or lay them in cardboard boxes lined with newspaper. The target is roughly 45°F to 50°F with low humidity. Plastic bags trap moisture and breed mold, so avoid them.
The plants will look grim, shriveled and leafless. That’s normal. Once a month, check them and remove any rotting tissue. Some growers soak the roots in water for an hour monthly to prevent total desiccation, while others rely on a quick misting. In either case, restraint is the point.
Success rates are lower than with the other methods, since stems can dry out completely if the storage space is too warm. Think of it as the low-effort, higher-risk option. If you have a prized variety, take a few cuttings as insurance.
Waking them up in spring
About eight to ten weeks before your last frost, usually February or March, bring stored plants back to life. Cut away dead growth, repot into fresh mix, and move them into bright light with a first modest watering. New green buds appear within two weeks if the plant survived.
Resume feeding with a balanced fertilizer at half strength once growth is visible, then harden plants off outdoors gradually over a week or so before planting after the last frost. One practical note: geraniums that overwintered lean and cool often bloom earlier than store-bought nursery stock, so the effort pays back in May.